How to Create Thumbnail Using Canva (2026) – Beginner to Pro Guide

In the Digital World, your content is judged before it is consumed.
A powerful Thumbnail can stop the scroll, attract attention, and drive clicks.

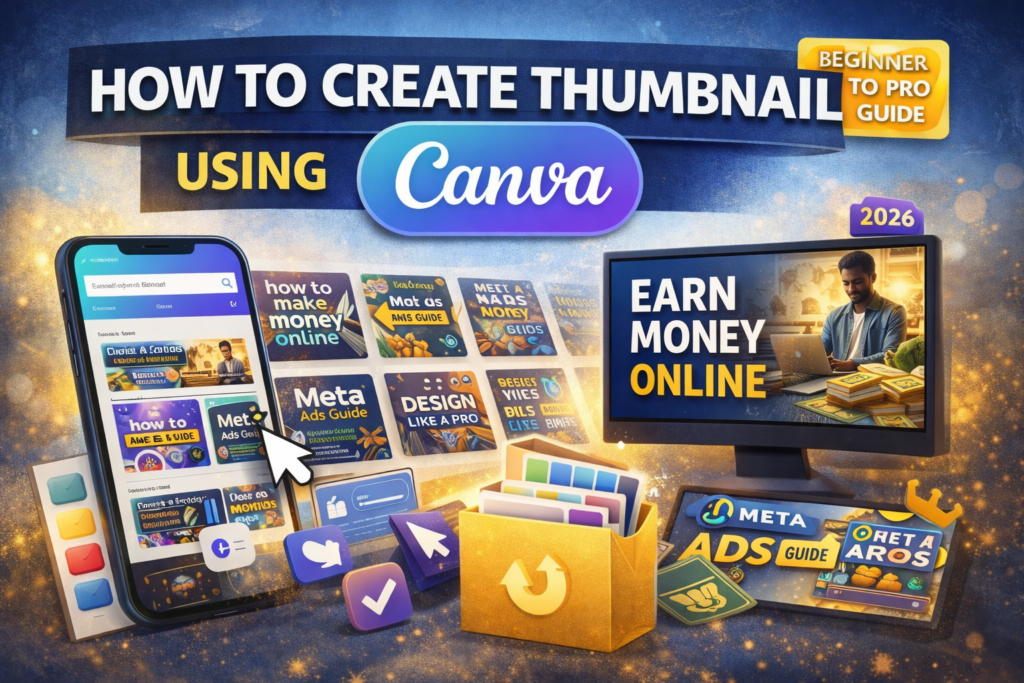
I’ll teach you how to create professional thumbnails using Canva—step-by-step by DIGITAL GULI

🎯 Why Thumbnail is Important?

  • First impression of your content
  • Increases click-through rate (CTR)
  • Builds brand identity
  • Makes your content look professional

👉 No thumbnail = low clicks

🧰 What is Canva?

Canva is a simple and powerful design tool that allows anyone to create thumbnails, posters, social media graphics, and more—without design skills.

🚀 Step-by-Step: Create Thumbnail in Canva

🥇 Step 1: Open Canva

  • Go to Canva
  • Search: “YouTube Thumbnail”
  • Choose size: 1280 × 720 px

🥈 Step 2: Choose Template

  • Select a clean template
  • Avoid too many elements
  • Keep it simple

🥉 Step 3: Add Text

  • Use bold headline
  • Keep text short (3–5 words)

🧑‍💻 Step 4: Add Image / Background

  • Use relevant image
  • Or gradient background

🎨 Step 5: Use Colors Smartly

  • 2–3 colors max
  • High contrast (dark + light)

🔤 Step 6: Font Selection

  • Bold font for headline
  • Clean font for subtext

⚙️ Step 7: Final Adjustments

  • Align everything properly
  • Add shadow/glow on text
  • Keep spacing clean

📥 Step 8: Download

  • Format: PNG
  • High quality
  • Use for YouTube / Blog

💡 Pro Tips

  • Face thumbnails → higher CTR
  • Big bold text → better visibility
  • Less clutter → more premium feel

🚫 Common Mistakes

  • Too much text
  • Low contrast
  • Random colors
  • Poor alignment

🔥 Final Thought

A thumbnail is not design—
it’s a click magnet.

Simple + Clear + Bold = High CTR

Scroll to Top